Dogs are intelligent and almost always excited to interact with their owners, so what better way to play with your dog than to teach them a new trick? Shaking hands is a classic trick for a reason; it’s easy enough for any dog to learn but challenging enough to engage their brains.
You can teach your dog to shake in 10 easy steps, which involves getting them to realize that the contact of their paw to your hand is important!

Before You Start
Before you begin teaching your dog to shake, getting everything you’ll need together is a good idea. Having all your training tools nearby makes it easier once you’ve begun, enabling you to keep your dog’s attention and not interrupt the session.
- Treats
- A clicker (optional)
- A room free from distraction
- Time!
The 10 Steps for Teaching a Dog to Shake
1. Hold a Treat
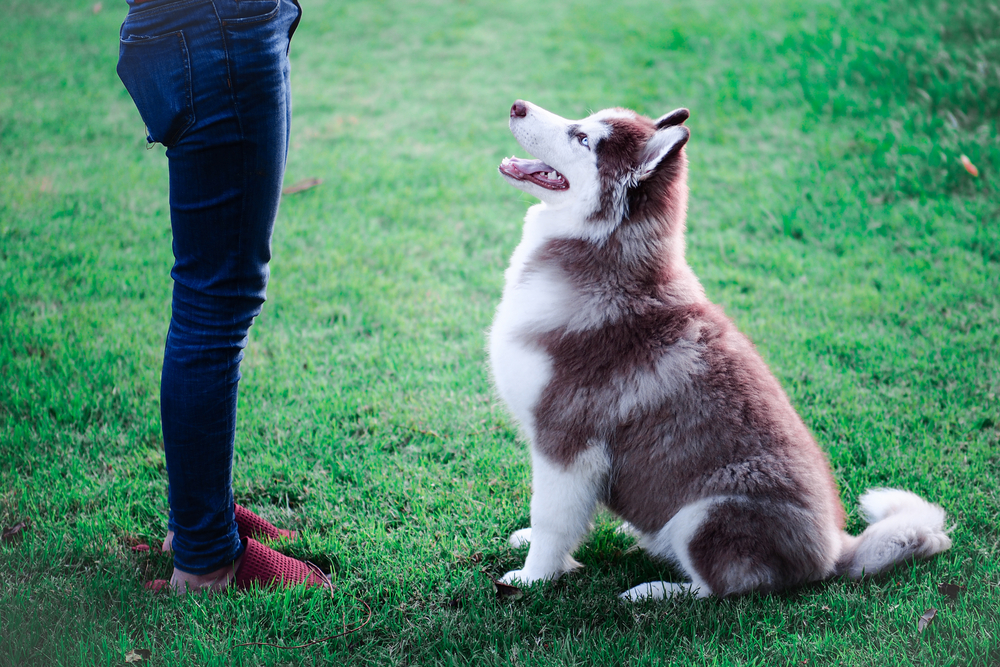
The first step is the simplest one. Grab one of your dog’s tasty treats and hold it in a fist. Don’t let them see the treat, and stand a few feet away from them. Your dog may need some prompting, but they’ll likely be very interested once they realize what you’re holding. Ask them to sit and ensure they’re paying attention.
2. Hold Your Hand Out to Your Dog
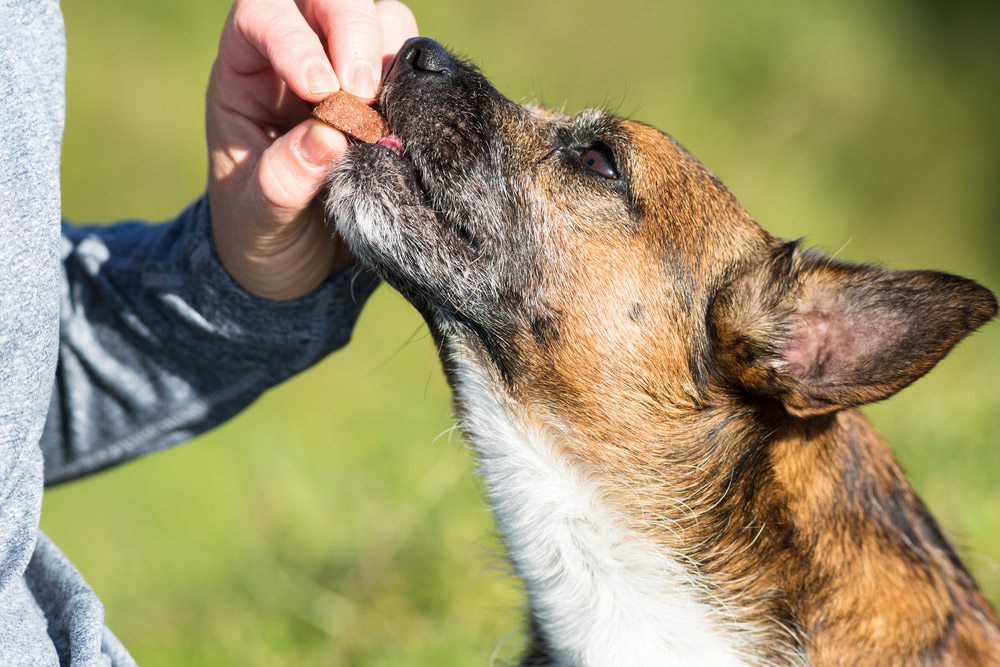
Once you have your dog’s attention and their treat in hand, hold your hand out to them. They’ll sniff, lick, and nuzzle your hand to try and get to the treat inside, but don’t give it up!
You can try this step with different types of treats; the idea is to find something so tantalizing that it will keep their attention even if they can’t get to it.
3. Wait
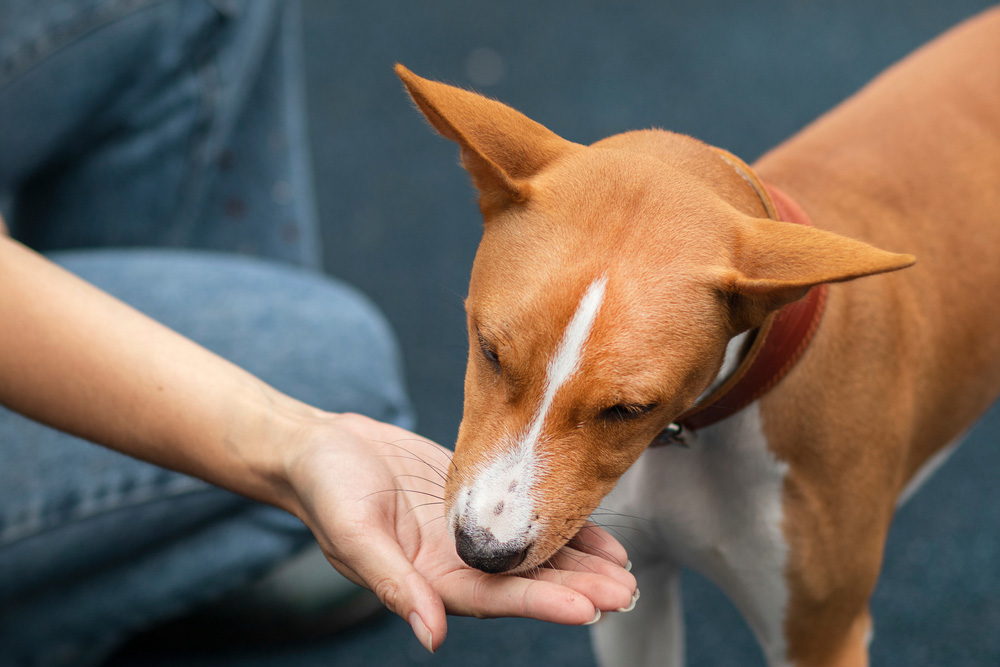
When your dog is interested in the treat in your hand, wait until they begin to paw at it. Don’t say anything, and don’t interact at all while they’re sniffing and licking, but you can open your hand and give them the treat as soon as they begin to paw at it.
You can also click and treat if you’re using a clicker. This may take a while; be persistent and ensure you don’t give them any indication that you’ll open your hand until they (inadvertently) present their paw.
4. Repeat
Repetition is key in building the association between your pup touching your hand with their paw and getting a treat. After a few repetitions, your dog will begin consciously choosing to paw at your hand for the treat over licking it. The more you repeat the paw and (click) treat, the faster they’ll choose to paw it the first time.
5. Increase “Paw” Time
Once your dog consistently places their paw on your hand for the treat, you can increase the time they need to have their paw on you before they get a treat. By increasing the time they need their paw on your hand, you’re getting them ready for the “shake” part of the trick.
Remember that you shouldn’t give your pup any verbal cues just yet.
6. Perfect the Timing
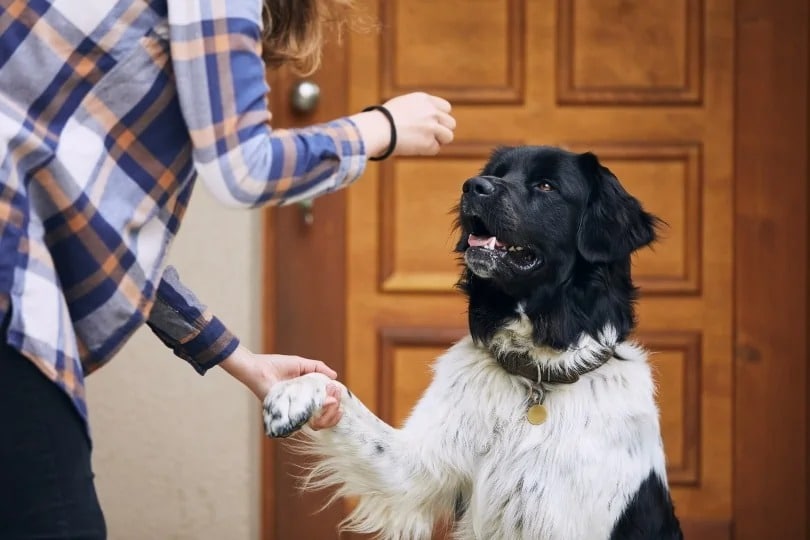
Your dog will likely first place their paw all over your hand and arm when you hold it out to them in their excitement, but you need to time the treat perfectly for training to be effective.
You want to wait until your dog has their paw firmly on your hand to give them the treat and make sure they keep their paw still on your hand before you do.
7. Introduce Verbal “Shake” Cue
Once your dog consistently places their paw on your hand with purpose and keeps it comfortably on there for longer times, you can introduce your verbal cue. You should choose a word you’re happy using (the most common is “shake”) as long as it is simple.
Hold your hand out to your dog as before; just before your dog’s paw makes contact, say “shake” (or your chosen word) and give the treat. The aim of this step is for your dog to associate the command with the treat.
8. Flatten Your Hand
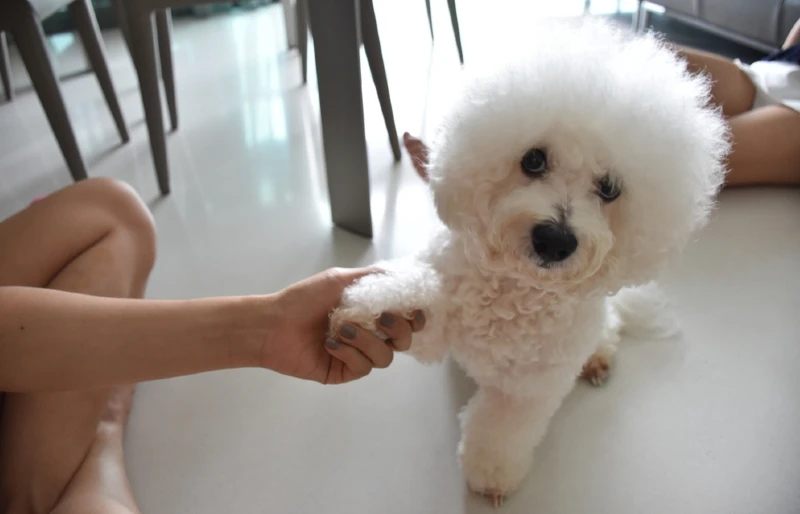
The next step is to flatten your hand and encourage your dog to place their paw into your palm. Hold the treat in your other hand and follow the previous steps, making sure you give the command word and only give your dog the treat when their paw is left in your hand.
If your dog is hesitant or unsure where to place their paw, it means they are not ready for this step yet. Go back a step and try again.
9. Close Your Hand and Shake
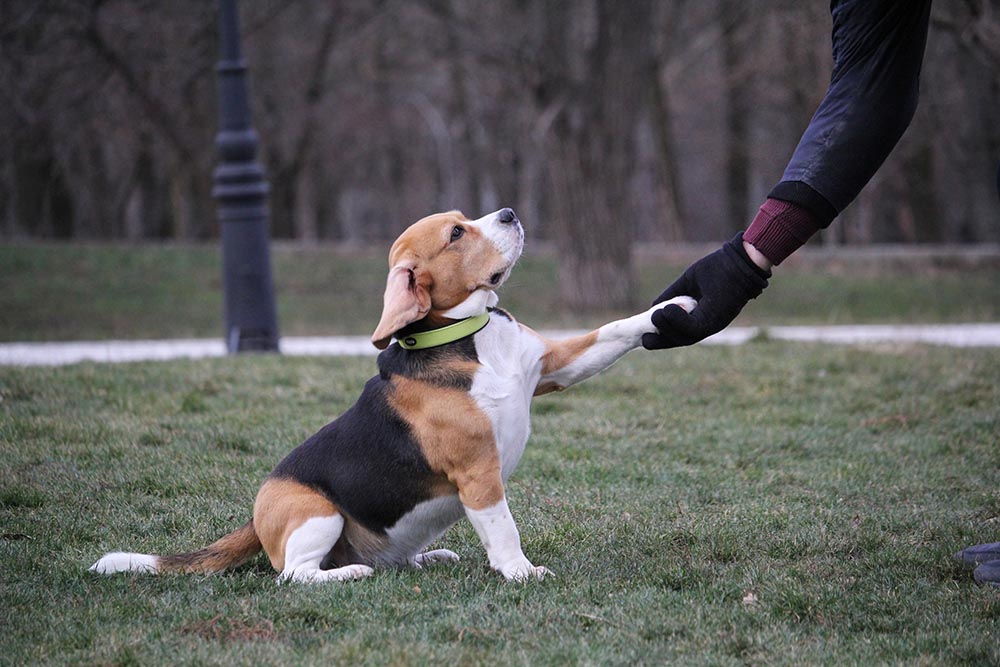
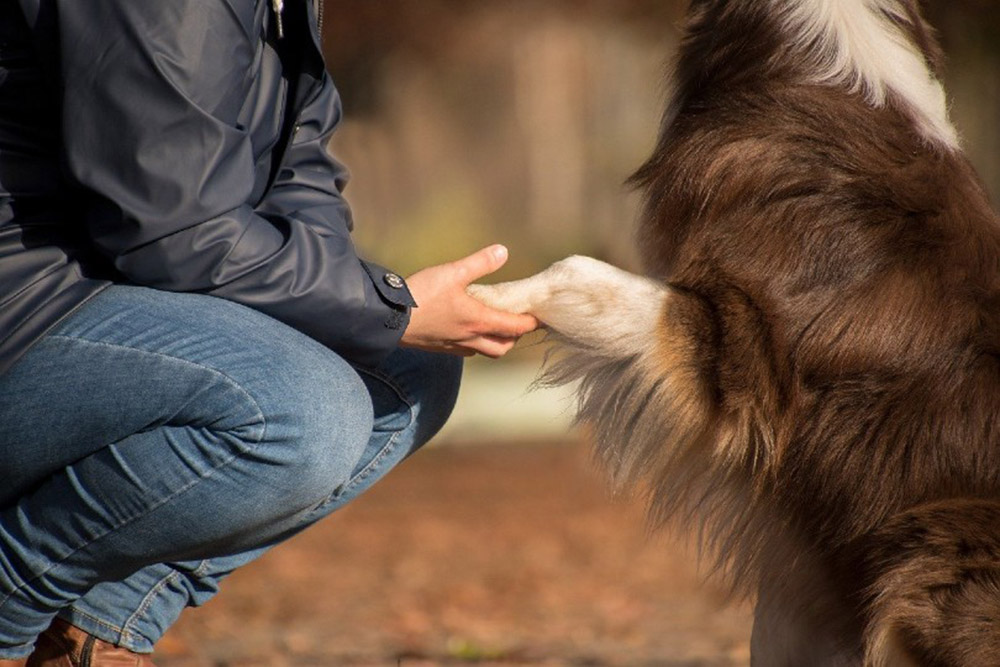
Once all the previous steps are completed, you can close your hand around your dog’s paw and gently move it up and down. Make sure you move slowly and hold their paw gently. If they seem unsure at all, move back a step.
Make sure to praise your dog and give them the treat just as you have with previous steps. This is a more complex step and can be challenging for some dogs, so don’t rush them.
10. Repeat With the Other Paw
If you’ve mastered all the steps, congratulations! Your dog now knows how to shake. You can now work on repeating the to see how your dog reacts when you gesture with the other hand and give the shake command.
They may take to it right away! If not, repeat steps two through nine with the other hand. Ensure your dog is not overwhelmed, and keep offering praise and treats when they get it right. They might try to shake with the other paw at first but don’t chastise them for getting it wrong.

Final Thoughts
Teaching your dog new tricks can be a great bonding experience. Some dogs learn quickly, while others need lots of repetition and training. It is also important to remember that your dog’s confidence level and ability to perform the shake trick will be different in public than at home. Distractions, including onlookers and wildlife, make it harder for your dog to perform the trick, but with enough practice in public, they’ll perform the trick easily.
Related Reads:
Featured Image Credit: Madeeva_11, Shutterstock

