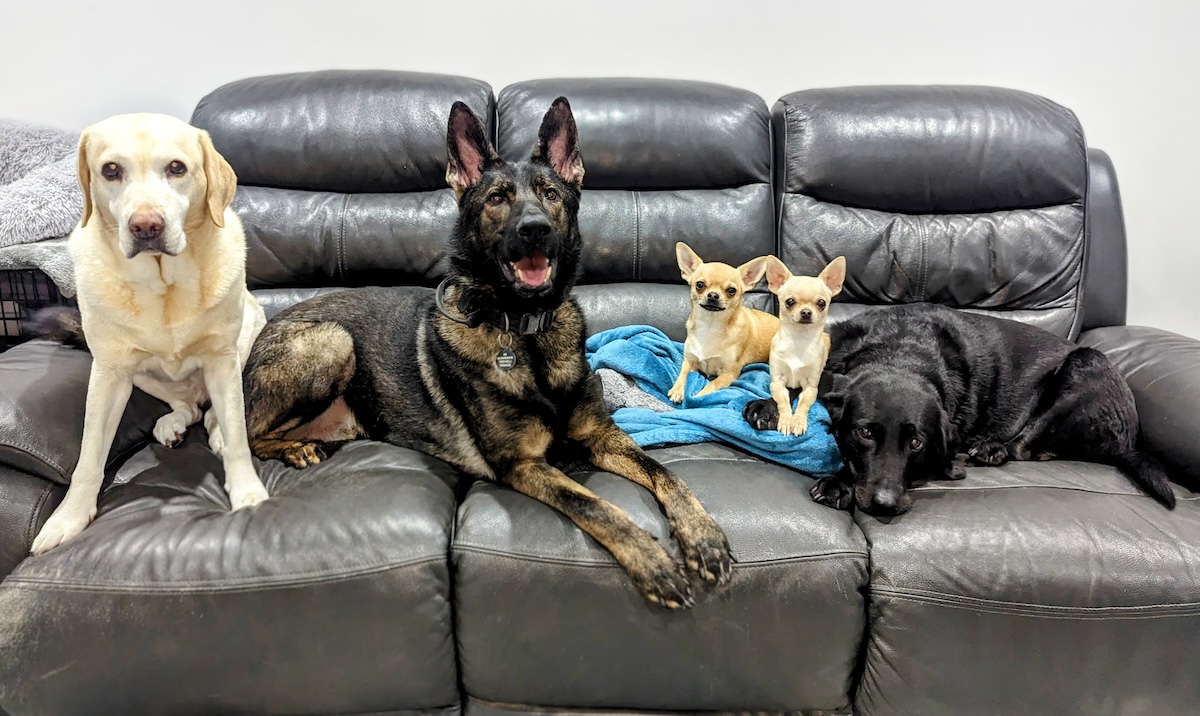
Hi, I’m Dr. Karyn! Read my introduction to learn more about me and my five funny dogs, Poppy, Bailey, Kodah, Ned, and Fred.
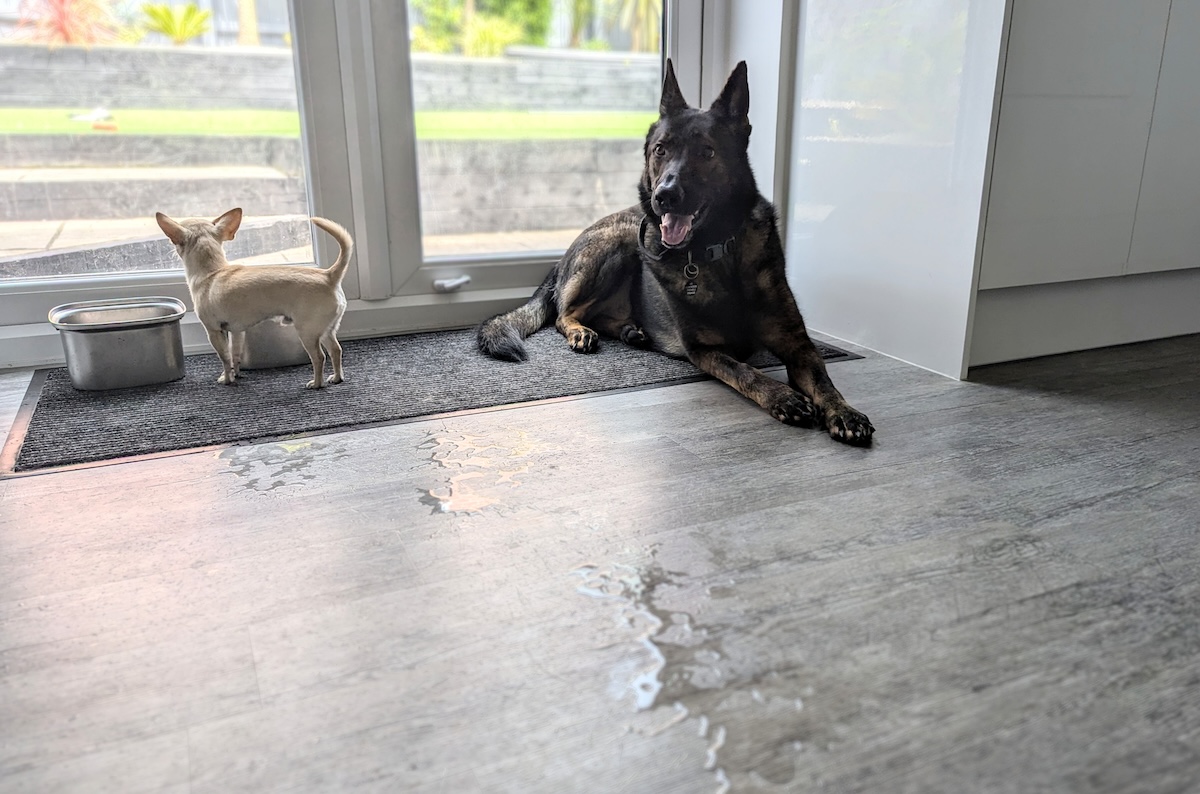
Kodah is a really messy drinker. When he quenches his thirst, we feel like we should start building an ark. A little while back we invested in a couple of ‘spillproof’ water bowls, and they worked…for a few weeks. Somehow, Kodah worked out how to push the floating level down, allowing him to make just as much of a mess as he used to. Which got me thinking that he must be doing it on purpose! Then I spotted something online that I just had to try for myself. It wasn’t going to stop the spills, but it was going to put them to good use!
Water Bowl Planter!
A water bowl planter was right up my alley, and if I’m going to make it, I’m going to share the process with you.
The great thing about this little project is that you may already have most of the things you need at home, and you can make it to whatever specifications you want.
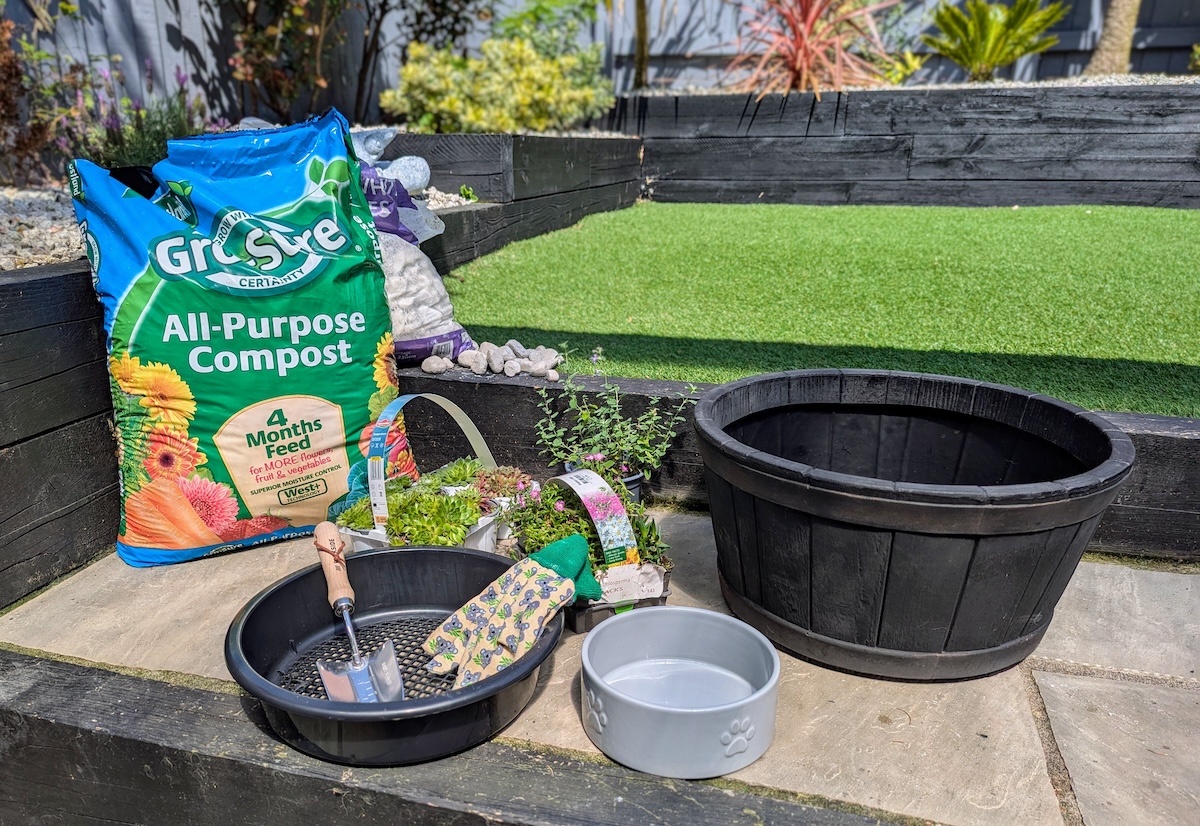
Here’s what you’ll need:
- Water bowl (ceramic or stainless steel)
- Dish, bowl, tray, or saucer to rest the bowl in
- Plant pot large enough to allow plenty of planting space around the bowl
- Compost/potting mix
- Decorative stones/pebbles
- Hardy, non-toxic plants
Plant choice
Succulents and cacti are usually non-toxic to dogs, but you need to make sure they have no sharp points or spines, and you should double check individual plant species to be sure. I am using Sempervivum and Delosperma species, both of which are non-toxic to dogs.
Ideally, you want a dish, bowl, or tray that is just large enough to just fit your water bowl in. I was using a garden sieve that was quite a bit larger than my bowl, but I had a little trick up my sleeve to adapt this, which I will talk about later. I wanted to use the sieve as it allowed for more drainage, so I wouldn’t end up with a swamp beneath the water bowl.
The Process
I started with a layer of pebbles on the bottom of the pot to help with drainage. I then filled the pot with my compost mix, patting it down to get the right height. You want the top of the water bowl to be level with, or slightly lower than, the edge of the pot. I placed the sieve and bowl into the pot – I placed mine off center to allow for some larger plants – adding a small amount of potting mix inside the sieve, and a layer that reaches the top of the sieve around the outside. The water bowl will get quite messy, but we’ll clean it at the end.
Now it’s time to place our plants and decorative pebbles. Succulents tend to grow and spread quite quickly, so leave plenty of space.
If you have a well-matched bowl and ‘under bowl’, you should be able to lift your water bowl out quite easily to clean it, with very little rock fall.
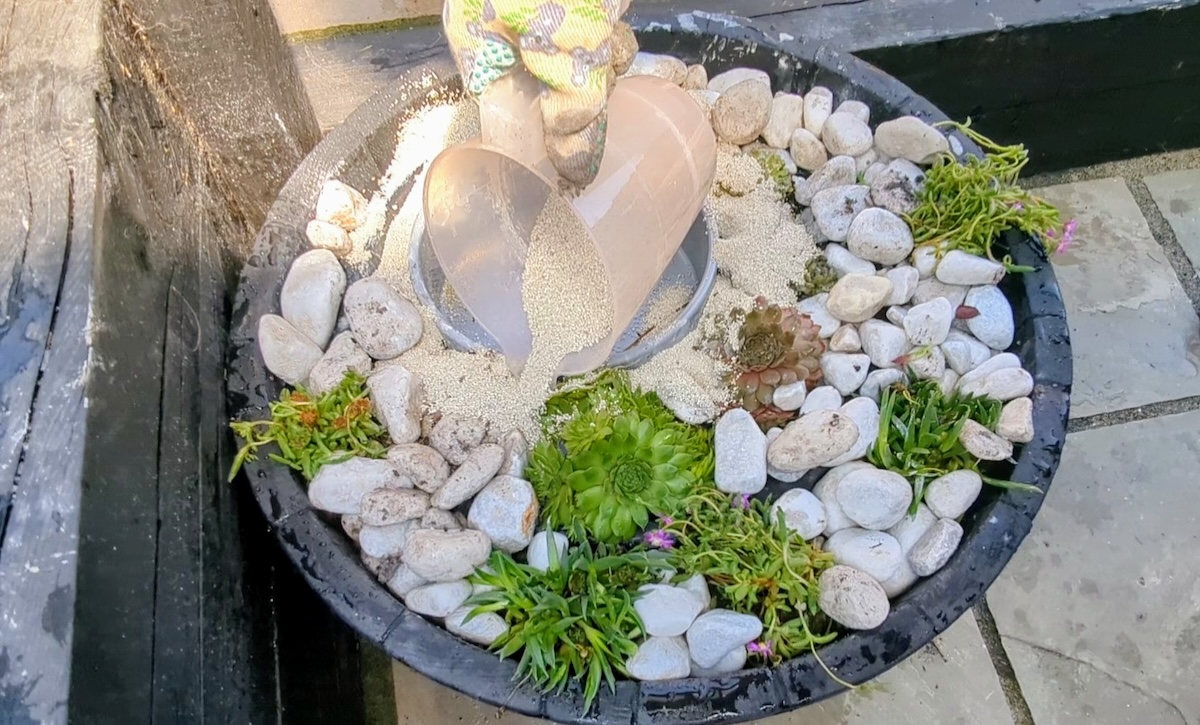
Because I have a large gap, I am using a little secret weapon in the form of clumping clay cat litter. This was a bit of an improvisation, I will admit! But it worked really well to bind my pebbles together, without risking toxicity to my plants or my pet! I washed, watered, and wet down the pebbles, plants, and litter, and allowed this to all settle for about an hour.
I was then able to carefully lift my water bowl without the soil, plants, and pebbles collapsing into the space left behind.
The Result
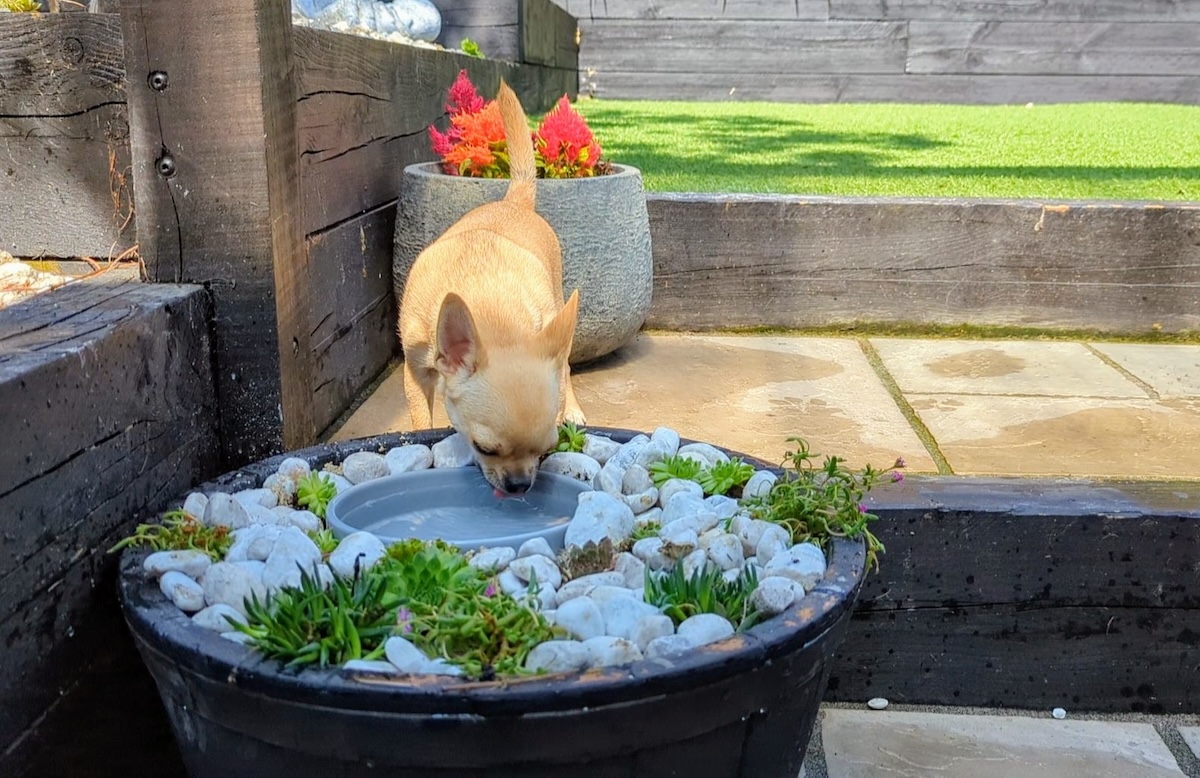
With a clean bowl and some fresh water, my ‘self-watering’ planter looks fantastic, and keeps Kodah’s watery mess contained. I love it!
And I even created one for the cats using a couple of old dog bowls, some succulents, and a catnip plant!

But Beware!
If your dog likes to chew stones or eat plants, this isn’t going to be a good option for you. Even if you’re using dog-safe plant varieties, there are very few plants that won’t give your dog an upset stomach if they eat a lot of them.
Happy Planting!
- Read her previous article: Things I’ve Been Wrong About (and I’m Not Too Proud To Admit It)
- Read her next post: The Great Debate Part Two: Why Dogs Are Better Than Cats


